
Here I have put into place the first draft of my teaser trailer using Final Cut Pro software available on the Mac Apple Laptops.
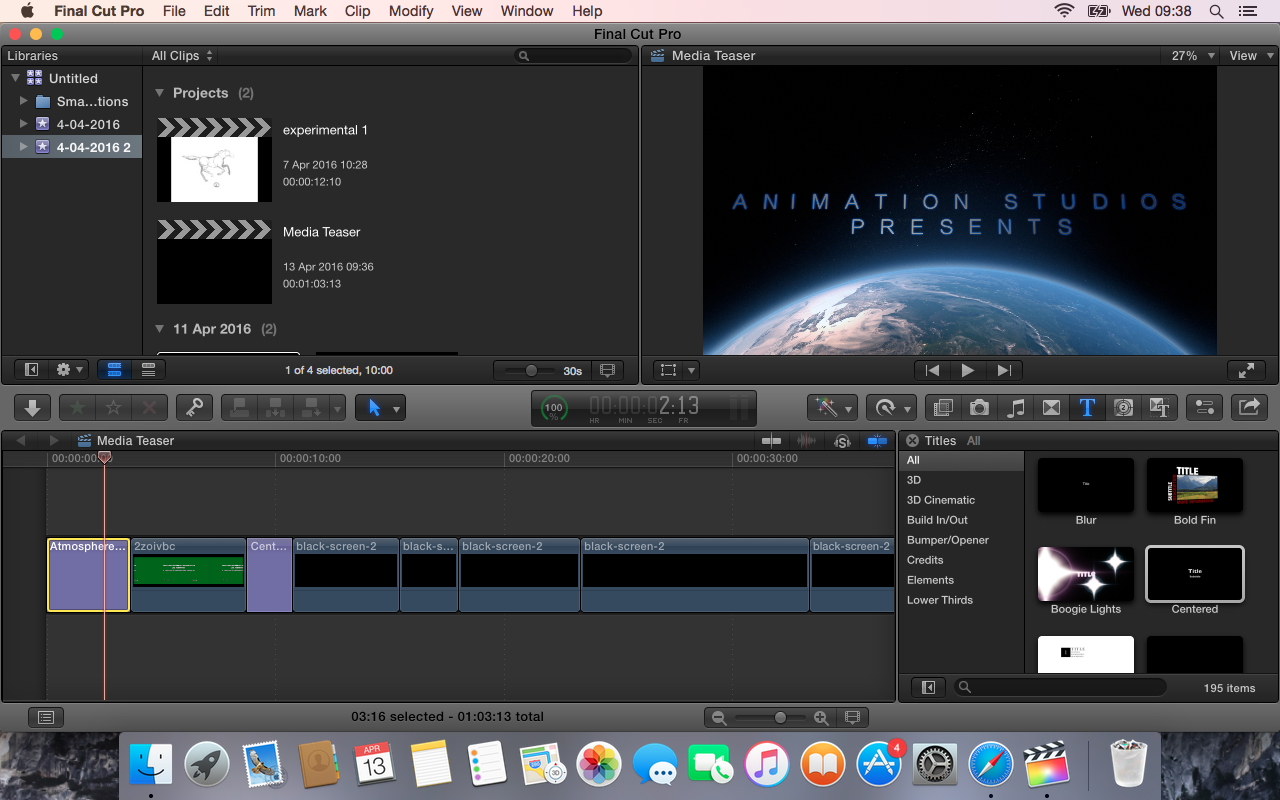
I started my trailer by opening on a shot of the production team, using a formatted effect of planet earth and the text swooping in, a lot like the UNIVERSAL film logo, making it easily recognizable to the audience as the company that produced it.
I knew that the trailer had to be timed perfectly, so I altered the time of each shot so that I could showw as much footage as possible without a lot of distractions, as my animation storyline is a bit harder to follow than your common genre.

I then added inter-titles, manipulating the font so that there was a blue haze around it, to reference back to Avatar the movie, which the characters are made in an array of blue tones.

I tried to map out my teaser trailer before editing so that everything would be easily edited if i wanted to add effects or colour filters in certain parts.

I used the cross dissolve and fade to black in between each shot so that my teasr trailer would run smoothly and effectively, not straying from the Classic Hollywood Style of unobtrusive editing so the storyline is as easy to follow as possible and the audience is not distracted by harsh dramatic cuts from shot to shot.

I chose the simple text layer that faded in and out quickly, then changed the font to manipulate it into my own style.


I tried to make sure at all points of the trailer that timing was perfect, especially the start so that the audience were drawn in and intrigued to watch more rather than glance at it and not be interested.

Fading into the cloud effect gave reference to many production company's, the most famous examples being either Dreamworks or Warner Bros. Not a direct copy as such, but a mimic all the same.


I added a stylistic looking background onto my title to give it an illustration like look.

I made sure that the text layer was placed on top to show it fading in and out.

On certain parts of my trailer I changed the saturation levels so that I could make some shots a harsher contrast between light and dark tones, which would then impact the emotive effect of the trailer.


After some shots being exported from Photoshop and acting quite slow, it was easy to speed up the frame rate using final cut pro. I customized the speed to make it perfectly how I wanted it.

When exporting, I saved the video out as a master file and then uploaded it to youtube, as the MAC laptops would not allow to publish straight to YouTube as they are restricted by school guidlines.


No comments:
Post a Comment